
Choosing the right welding rod is the secret to a perfect weld. Whether you are working on a simple DIY frame or a structural project, understanding your metal type and polarity is essential for professional results in 2026.
Walking into a welding supply shop in 2026 can feel overwhelming. With hundreds of boxes on the shelves, all labeled with confusing codes like E6010 or E7018, it is natural to ask yourself, “what welding rod do I use?” You are not alone in this. Every welder, from the weekend hobbyist to the veteran pipeline expert, has stood in front of that aisle scratching their head at least once.
Getting the right rod is the difference between a beautiful, strong weld and a messy, brittle disaster. When you pick the wrong electrode, you might struggle with excessive spatter, poor penetration, or cracks that form as soon as the weld cools. This guide is designed to help you navigate the choices so you can stop guessing and start burning rod with total confidence.
Key Takeaways
- Understand Your Metal: The type of base metal you are joining determines which welding rod is required for structural integrity.
- Match the Polarity: Always check if your welding machine is set to DC+ or DC- to ensure your rod works as intended.
- Consider Position: Some rods are designed specifically for flat, horizontal, or vertical welding, while others are “all-position” rods.
- Thickness Matters: Thicker materials require larger diameter rods and higher amperage settings to achieve proper penetration.
- Storage is Vital: Keep your welding rods in a dry, temperature-controlled environment to prevent moisture contamination which ruins weld quality.
- When in Doubt, Check the Manual: Manufacturers provide specific data sheets for every rod type that outline optimal settings.
The Basics of Electrode Identification
To understand what welding rod do I use, you first have to learn to read the code. The American Welding Society (AWS) uses a specific numbering system. Once you crack the code, you will realize that these numbers actually tell you exactly how the rod will behave.
Decoding the E-Series Numbers
Almost every rod starts with the letter ‘E’. This stands for electrode. The two or three digits that follow represent the tensile strength of the weld in thousands of pounds per square inch (psi). For example, a rod starting with E60 means it has a tensile strength of 60,000 psi. A rod starting with E70 has a strength of 70,000 psi.
The last two digits are the secret sauce. The second-to-last digit tells you the welding position. A ‘1’ means it is an all-position rod (good for flat, vertical, and overhead). A ‘2’ means it is for flat and horizontal positions only. The final digit tells you the coating type and the type of current needed (AC or DC). Understanding this simple logic makes deciding what welding rod do I use much easier.
Choosing by Metal Type and Thickness
The most important factor in your decision is the base metal you are joining. If you are welding mild steel, your choices are quite different from someone welding stainless steel or cast iron. If you are still asking “what welding rod do I use” for a standard steel frame, the answer is usually based on the thickness of the steel.
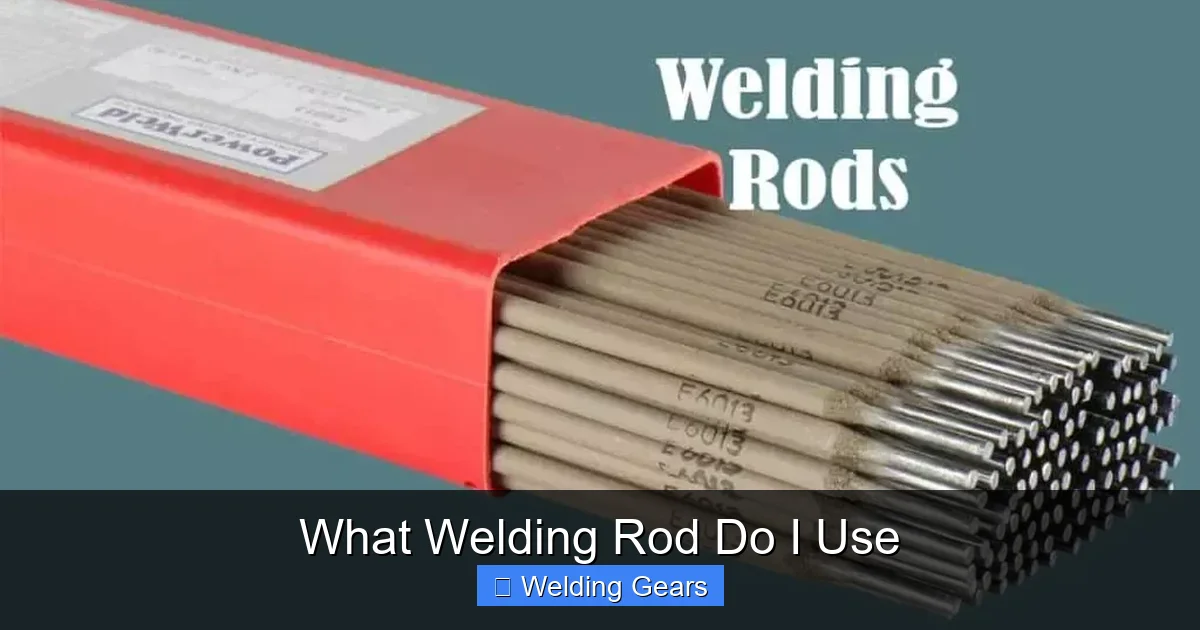
Visual guide about What Welding Rod Do I Use
Image source: i.pinimg.com
Matching Rod Diameter to Thickness
For thin sheet metal, you need a smaller rod diameter, like 3/32 of an inch. If you use a rod that is too thick, you will blow right through the metal before the weld pool even forms. Conversely, for heavy plate steel, you need a 1/8 or 5/32 inch rod to carry enough heat to melt the metal sufficiently.
As a general rule of thumb for beginners, keep your rod diameter close to the thickness of the metal you are welding. If you are working on 1/8 inch steel, a 1/8 inch rod is a great starting point. If the metal is thinner than your rod, you will likely struggle with burn-through.
The Most Common Rods You Will Encounter
If you want to know what welding rod do I use for 90 percent of home projects, the answer usually comes down to three or four specific options. These are the workhorses of the welding world in 2026.
E6010 and E6011: The Penetration Kings
These rods are famous for digging deep. They are perfect for dirty, rusty, or painted steel because their aggressive arc can burn through surface contaminants. E6011 is particularly popular because it works on both AC and DC machines. If you are doing outdoor repairs on old farm equipment, these are your best friends.
E7018: The Structural Standard
If you have ever wondered what welding rod do I use for critical structural welds, it is the E7018. This rod produces a very strong, ductile weld with low hydrogen content, which prevents cracks. It is the gold standard for welding beams, trailers, and anything that needs to carry a heavy load. It creates a smooth, professional-looking bead that is very satisfying to lay down.
E6013: The Easy-to-Use Choice
Many beginners find the E6013 to be the most forgiving rod. It has a soft arc and produces very little spatter. It is great for light-gauge steel and general shop projects. While it doesn’t have the deep penetration of an E6010, it is much easier to keep the arc stable.
Understanding Polarity and Current
Before you strike your arc, you have to verify your machine settings. Your welding machine can be set to DCEP (Electrode Positive) or DCEN (Electrode Negative). Some rods perform best with one, while others might fail if the polarity is swapped.
Why Polarity Changes Everything
DCEP puts more heat into the rod, which helps with penetration. DCEN puts more heat into the base metal, which is great for thin materials where you want to avoid blowing holes. Always check the box the rods came in. It will explicitly state the recommended polarity. If you are using a basic buzz-box welder, ensure your rod is rated for AC current before you start.
If you are frustrated by the arc constantly sticking, you might have your polarity reversed or your amperage set too low. Before you change your rod, double-check your machine settings against the rod manufacturer’s technical guide.
Storage Tips for Your Welding Rods
One of the most overlooked aspects of welding is rod storage. Moisture is the enemy of a good weld, especially for low-hydrogen rods like E7018. If your rods get damp, they will become porous, causing “fish-eyes” in your welds and significantly weakening the joint.
Creating a Dry Environment
In 2026, many hobbyists use simple rod storage tubes with moisture-absorbing desiccant packs. If you are a professional, you likely have a heated rod oven. Never leave your rods sitting on the shop floor where they can absorb humidity from the air. If you suspect your rods are damp, you may need to re-bake them, but it is much easier to just keep them dry in the first place.
When someone asks what welding rod do I use, part of the answer is “the one that is stored properly.” A high-quality rod that has been left in a humid garage for six months will perform significantly worse than a budget rod that was kept in a sealed container.
Conclusion: Building Confidence Through Practice
Choosing the right rod is an essential skill, but it is only half the battle. Once you have the correct electrode in your holder, the rest comes down to travel speed, arc length, and angle. Remember, when you are learning, you will waste some rods. That is part of the process.
Do not get discouraged if your first few beads look more like a bird’s nest than a structural weld. By focusing on the basics matching your rod to your metal thickness and choosing the right rod for the job’s requirements you will quickly find your rhythm.
Keep a notebook of the settings you use for different jobs. This will serve as your personal reference guide for years to come. Now that you know what welding rod do I use, it is time to flip down your hood and start practicing.
FAQs
Can I use an E7018 rod on dirty metal?
While E7018 produces strong welds, it is not ideal for dirty or rusty metal because the slag can easily get trapped. It is better to use E6010 or E6011 to burn through the contaminants first, or clean the metal thoroughly before starting.
What happens if I use the wrong diameter rod?
If the rod is too thin, you won’t get enough heat into the joint to get proper penetration, leading to a weak weld. If the rod is too thick, you will likely overheat the base metal, causing warping or burn-through.
Do I need to dry my welding rods?
Yes, especially for low-hydrogen rods like E7018. Moisture creates hydrogen bubbles in the weld pool that lead to cracking, so keeping them in an airtight container or a rod oven is highly recommended.
What is the difference between AC and DC rods?
AC rods are designed for welding machines that alternate current, which is common in older home welders. DC rods work best with modern inverter or transformer machines that provide a steady flow of current, offering a more stable arc.
How do I know if my welding rod is expired?
Most welding rods do not have a hard expiration date, but they can degrade if the coating begins to flake off or if they become contaminated with oil or heavy moisture. If the coating is physically damaged, the rod should be discarded.
Can I mix different types of welding rods on one project?
You can use different rods for different parts of a project, but you should not mix them within the same weld bead. Stick to one type of rod for a specific joint to ensure consistent strength and penetration throughout the weld.