Welding stainless steel using a stick welder requires specific electrode choices and precise heat management to prevent corrosion. By mastering arc stability and post-weld cleaning, you can produce professional-grade joints that maintain the unique properties of stainless steel.
So, you are looking to weld stainless steel with a stick welder? That is a great skill to have. Stainless steel is beautiful, durable, and resistant to rust. However, it can be a little bit tricky if you are used to working only with mild steel. In 2026, we have better tools and more reliable electrodes than ever, making the process much easier for the home hobbyist and professional alike.
Stick welding, or Shielded Metal Arc Welding (SMAW), remains a go-to method for many because it is portable and works well outdoors. When you want to weld stainless steel with a stick welder, you are essentially joining high-chromium alloys. If you treat it just like regular steel, you might end up with welds that rust or crack. Let’s dive into the details of how to do this correctly so your projects look fantastic and last a lifetime.
Key Takeaways
- Correct Rods: Always choose stainless steel-specific electrodes like E308L or E309L for the best chemical compatibility.
- Heat Control: Stainless steel is sensitive to heat, so use lower amperage settings to prevent warping and burning.
- Cleanliness is Essential: Remove all grease, oil, and mill scale before you strike an arc to avoid porosity.
- Travel Speed Matters: Maintain a steady, slightly faster travel speed than you would for carbon steel to avoid excessive heat input.
- Post-Weld Care: Stainless steel requires wire brushing with a stainless-only brush to prevent cross-contamination and rust.
- Proper Storage: Keep your stainless steel electrodes in a rod oven or sealed container to prevent moisture absorption.
Understanding the Basics of Stainless Steel Welding
Before you strike your first arc, it helps to understand why stainless steel is different. Unlike carbon steel, stainless steel expands more when heated and conducts heat much slower. This means the heat stays right where your electrode is, which can lead to warping or “sugaring” on the backside of your weld if you are not careful.
The Science of Chromium
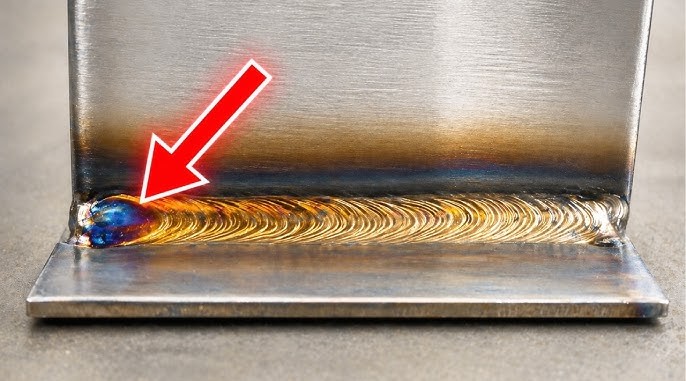
The magic of stainless steel comes from the chromium content. When you heat it up, that chromium can react with the air. If you overheat the metal, you deplete the chromium at the surface, which destroys the stainless quality. This is why when you weld stainless steel with a stick welder, you need to keep your heat input low and consistent. Your goal is to get the weld done quickly without turning the surrounding metal into a rainbow of overheated colors.
Why Stick Welding Works
Stick welding creates a protective cloud of gas and slag around the arc. For stainless steel, the slag layer is critical. It acts like a thermal blanket. Once you finish your bead, leave that slag on for a little while as the metal cools. It protects the hot metal from oxygen in the air, ensuring your weld remains corrosion-resistant.
Selecting the Right Electrodes
You cannot just grab a 6010 or 7018 rod and expect good results on stainless. You need an electrode specifically designed for the job. The most common rods you will find in 2026 are the “L” series, which stands for “low carbon.”
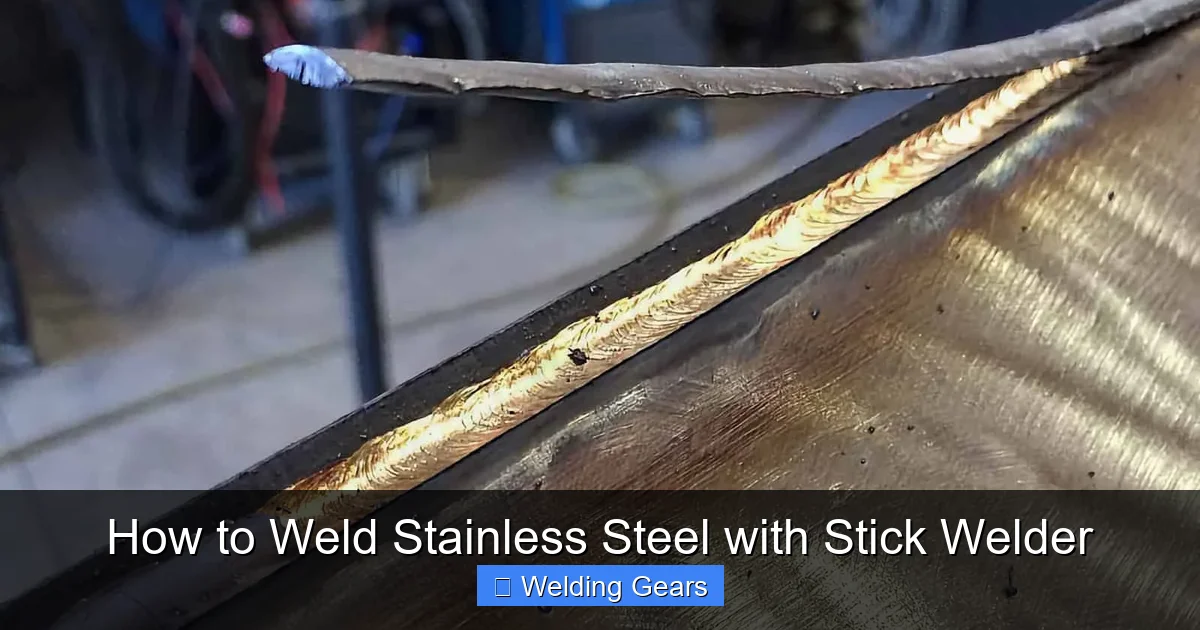
Visual guide about How to Weld Stainless Steel with Stick Welder
Image source: weldguru.com
Common Stainless Rod Types
For most general projects, you will want to reach for an E308L electrode. It works perfectly for 304 and 304L stainless steel, which are the most common grades you will encounter. If you are welding dissimilar metals, such as stainless to carbon steel, use an E309L rod. This electrode has a higher alloy content to bridge the chemical gap between the two different materials.
Storage and Preparation
Stainless steel electrodes are sensitive to moisture. If they get damp, the coating can degrade, leading to porosity in your welds. Keep your rods in a rod oven or a sealed container with desiccant packets. If you are not sure how old your rods are, test them on some scrap metal first. A good rod should burn smooth with a steady, crackling sound.
Preparing Your Workspace and Materials
Preparation is half the battle when you decide to weld stainless steel with a stick welder. Stainless steel does not like impurities. If you have been using your tools on mild steel, you need to be very careful.
Avoiding Cross-Contamination
This is the golden rule: Never use a carbon steel wire brush on stainless steel. Why? Because the microscopic carbon steel particles will embed themselves into the soft stainless surface. Once exposed to moisture, those carbon particles will rust, making your beautiful stainless project look like it is rotting from the inside out. Buy a dedicated stainless steel wire brush and label it clearly.
Cleaning the Joint
Use a clean rag and some acetone to wipe down your edges. If there is heavy mill scale or factory coating, use a grinding disc, but make sure that disc has not been used on mild steel previously. A clean surface ensures that your arc starts easily and that your weld puddle flows smoothly without bubbling.
Technique for a Perfect Weld
When you weld stainless steel with a stick welder, your technique needs to be deliberate. Because stainless steel is fluid and moves easily, you want to maintain a tight arc length. Do not jam the electrode into the puddle, but do not pull it too far away, either.
Maintaining Travel Speed
You should travel slightly faster than you would with mild steel. If you move too slowly, you will dump too much heat into the joint. This causes the metal to warp and creates that dreaded “sugaring” effect on the back side of the joint. Watch your puddle closely. If it starts to look runny or gets too wide, pick up your speed.
The Drag Technique
Many stainless rods are designed to be “dragged.” You can literally let the coating of the electrode rest lightly on the metal surface as you move. This keeps your arc length consistent. If you are having trouble with the arc cutting out, try a very slight weaving motion, but keep it narrow. A tight, straight stringer bead is usually the best approach for stainless steel.
Dealing with Heat and Distortion
Distortion is the biggest enemy of a clean stainless steel weld. Since stainless steel expands significantly under heat, it will pull and warp if you are not careful. One of the best ways to manage this is through smart joint preparation and tack welding.
Tack Welding
Before you run a full bead, place several small tack welds along the joint. This holds the pieces in place and helps act as a heat sink. If you are welding a long seam, use the “back-step” method. This involves welding in small sections moving in the opposite direction of your overall progress. This keeps the total heat input distributed evenly across the piece.
Letting it Cool
Patience is key. Do not rush to the next weld. If the metal is getting too hot to touch with your gloved hand, it is time to take a break. Let it cool down to room temperature. This will save you a lot of time in grinding and straightening later on.
Finishing and Cleaning Your Work
Once you are done, your weld will likely be covered in a layer of dark, crusty slag. Give the metal plenty of time to cool before you start hacking away at the slag. If you try to chip it off while the metal is red hot, you might damage the protective layer of the weld.
The Final Polish
After the slag is removed, use your dedicated stainless steel brush to clean the weld bead. If you need a more aesthetic finish, you can use a flap disc, but move up through the grits. Start with a coarse grit to remove the excess weld reinforcement, then move to finer grits until the weld blends into the base metal. For a true mirror finish, you might eventually want to move to polishing compounds, but for structural welding, a clean, brushed finish is perfectly acceptable.
Conclusion
Learning how to weld stainless steel with a stick welder is a highly rewarding process. It requires a bit more focus on cleanliness and heat management than standard steel welding, but the results are incredibly durable and visually appealing. Remember to use the right rods, keep your tools clean, and manage your heat input. With these habits, you will be producing high-quality stainless steel welds in no time. Keep practicing on scrap metal, trust your process, and enjoy the satisfaction of a job well done.
Frequently Asked Questions
Can I use the same wire brush for carbon steel and stainless steel?
No, you should never share wire brushes. Using a carbon steel brush on stainless will cause cross-contamination, leading to rust on your stainless project.
What is the best amperage to use?
Start on the lower end of the manufacturer’s recommended amperage for your specific rod size. Stainless steel requires less heat than carbon steel, so start low and adjust upward only if needed.
Why is the back of my weld turning black and crusty?
That is called “sugaring,” which happens when oxygen hits the backside of the weld while it is hot. To prevent this, you can use a backing plate or keep your heat input as low as possible.
Do I need a special stick welder for stainless steel?
Most standard DC-powered stick welders will work just fine for stainless steel. Ensure your welder is set to DC Electrode Positive (DCEP) for the best results with most stainless rods.
Are all stainless steel rods the same?
No, they are alloyed for different applications. E308L is great for general stainless, while E309L is specifically meant for joining stainless steel to mild steel.
How should I store my stainless steel electrodes?
Keep them in a moisture-free environment, such as a rod oven or an airtight container with silica gel. Moisture in the rod coating is a leading cause of porosity in your welds.