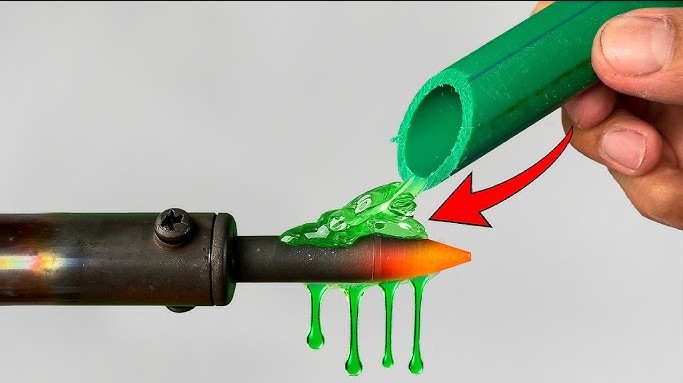
Welding plastic with a soldering iron is a simple and cost-effective way to fix broken household items or automotive trim. By using controlled heat to fuse materials, you can create a durable bond that restores functionality to your gear without needing expensive replacement parts.
Have you ever had a favorite plastic tool handle snap or a piece of automotive trim crack? It is a frustrating experience. In the past, the immediate reaction was often to toss the item into the bin. However, as we move through 2026, the DIY spirit is stronger than ever. Learning how to weld plastic with soldering iron equipment is one of the most useful skills you can add to your workshop arsenal. It is cheaper than buying replacements and far more satisfying than using messy adhesives.
You might think welding is only for steel beams or heavy metal projects, but plastic welding is essentially the same concept on a smaller scale. When you weld plastic with soldering iron tools, you are essentially melting two edges together to form a single, solid piece. It is a clean, permanent solution that works wonders on everything from lawn mower shrouds to broken plastic storage bins. Let us walk through how you can master this craft safely and effectively.
Key Takeaways
- Material Compatibility: Always identify the plastic type (like ABS or PP) before you weld plastic with soldering iron to ensure a successful bond.
- Ventilation is Vital: Melting plastic releases toxic fumes, so always work in a well-ventilated area or use a fume extractor.
- Use Filler Rods: For strong structural repairs, match your filler material to the base plastic for a seamless and integrated finish.
- Temperature Control: Avoid overheating the plastic, as this causes it to burn, weaken, and lose its structural integrity.
- Surface Preparation: Cleaning the area thoroughly with isopropyl alcohol is the most important step for a lasting weld.
- Practice Makes Perfect: Test your technique on scrap pieces of similar plastic before working on a high-stakes repair project.
Understanding Plastic Types
The Importance of Resin Codes
Before you even touch your soldering iron, you have to know what you are working with. Not all plastics melt the same way. Most plastic items have a small recycling symbol stamped on them with a number inside. This number tells you the chemical composition of the material. When you weld plastic with soldering iron gear, you need to match your filler material to the base plastic. For example, ABS plastic will not bond well with Polyethylene.
Testing Your Material
If you cannot find a recycling code, you can perform a simple burn test on a small, hidden piece of the plastic. ABS plastic usually smells like burning rubber or wood, while Polyethylene smells like a candle. If the plastic drips like hot wax or turns black and crusty, it is a sign of how that specific type will react to your iron. Taking five minutes to identify the material ensures you don’t waste time trying to weld two pieces that were never meant to bond.
Essential Safety Gear and Setup
Protecting Your Health
I cannot stress this enough: safety comes first. When you weld plastic with soldering iron tools, you are vaporizing polymers. These fumes are not something you want in your lungs. Always set up your workspace in a garage with the door open or use a dedicated fume extractor. Wearing a respirator designed for organic vapors is a smart move in 2026, especially if you are working on a larger project that requires a long session.
Setting Up Your Workstation
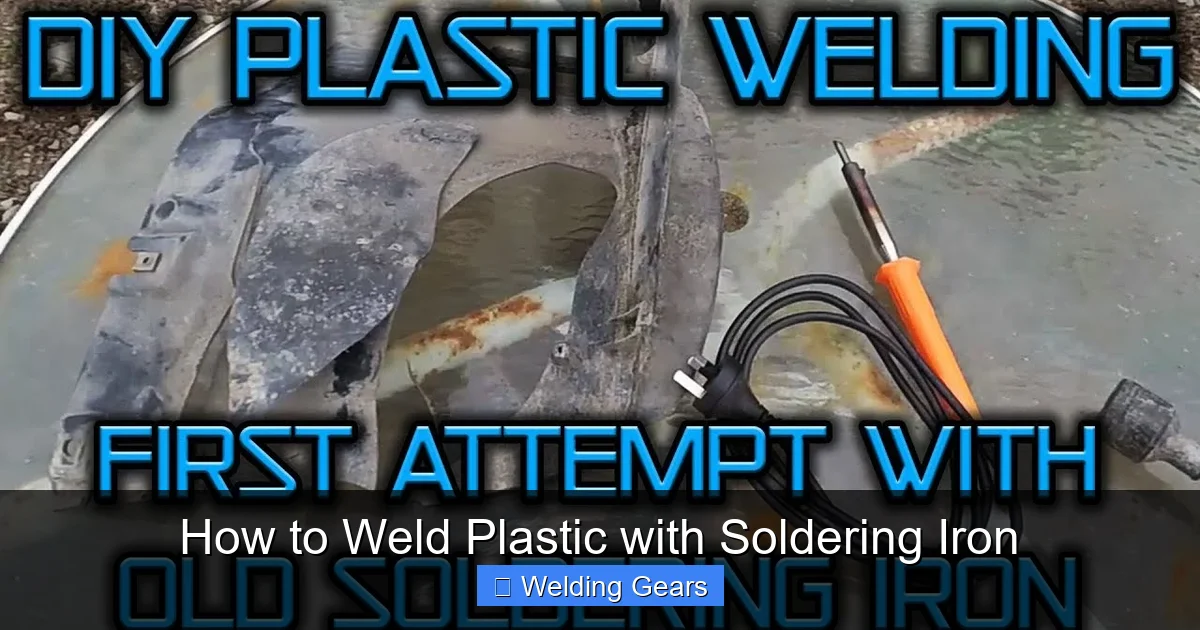
You do not need an expensive setup. A standard soldering iron with an adjustable temperature control is ideal. If your iron gets too hot, the plastic will smoke and bubble, which ruins the structural strength. You will also want a clean workspace, some clamps to hold your pieces in place, and a piece of sandpaper to prep the edges. Having everything organized before you turn on the heat will make the process much smoother.
Step-by-Step Welding Process
Preparing the Surfaces
The secret to a professional-looking repair is preparation. Use sandpaper to roughen the edges of the crack or break. This increases the surface area for the plastic to grip. Once you have sanded the area, wipe it down thoroughly with isopropyl alcohol. Any grease, dust, or residue will prevent the plastic from fusing correctly. A clean surface is the difference between a repair that holds for years and one that falls apart in a week.
The Fusion Technique
To weld plastic with soldering iron tools, place your two pieces together and hold them firmly with clamps. Bring your iron to the seam at a 45-degree angle. Gently press the tip into the plastic, moving in a slow, steady motion to “stitch” the two sides together. You are looking for the plastic to reach a soft, buttery consistency. Do not rush this part. Let the heat do the work. If you try to move too fast, you will leave gaps in the weld.
Using Filler Rods for Strength
When to Add Extra Material
If the crack is deep or if you are repairing a structural component, simple fusion might not be enough. This is where filler rods come in. These are thin strips of plastic that match the material of your object. You hold the rod against the crack and use the soldering iron to melt the rod into the seam. This creates a bridge of material that significantly reinforces the area.
Smoothing the Finish
After you have applied the filler, your work will likely look a bit lumpy. That is perfectly normal! Once the plastic has cooled, you can use a flat metal spatula or the flat side of your soldering iron tip to smooth out the bead. If you need a perfectly flat surface, wait until it is fully cool and use fine-grit sandpaper to blend it into the surrounding area. With a little patience, your repair will be almost invisible.
Common Mistakes to Avoid
Overheating the Plastic
The most common error beginners make when they weld plastic with soldering iron gear is leaving the iron in one spot for too long. This burns the plastic. Burnt plastic loses its molecular strength and becomes brittle. If you see brown or black discoloration, you are using too much heat. Always use the lowest effective temperature setting on your iron to keep the plastic pliable but not scorched.
Ignoring Alignment
It is easy to get so focused on the melting that you forget to check if the pieces are actually aligned. Check your work from multiple angles as you go. If you start welding and realize the part is crooked, it is a pain to fix. Using masking tape to hold the parts in the correct position before you start the initial “tack” welds is a great strategy to ensure everything stays where it belongs.
Advanced Tips for 2026
Reinforcing with Wire Mesh
For high-stress parts like bumper tabs or equipment housings, I recommend using a stainless steel mesh. Press the mesh into the plastic while it is soft, then melt a layer of plastic over the top. This acts like rebar in concrete, providing incredible durability. In 2026, many hobbyists use this trick for long-lasting, heavy-duty repairs.
Finishing and Painting
If you want your repair to look factory-fresh, you can paint over the welded area once it is sanded smooth. Use a plastic-bonding primer first to ensure the paint sticks. This hides the repair completely and protects the plastic from UV damage. Your friends won’t even know the piece was ever broken.
Welding plastic with a soldering iron is truly a life-changing skill. It encourages a mindset of repair over replacement, which is great for your wallet and the planet. Start with something low-stakes, like a broken plastic bin or an old toy, to get the feel for how the material melts. Once you build confidence, you will find yourself fixing things you never thought possible. Happy welding!
Frequently Asked Questions
Is it safe to weld plastic with a soldering iron indoors?
You must always work in a well-ventilated area because melting plastic releases toxic fumes. Using a fan, opening windows, or employing a dedicated fume extractor is essential to protect your health during the process.
Can I weld any type of plastic?
Most common household plastics like ABS, PP, and PE can be welded, but thermoset plastics like epoxy or polyurethane cannot be melted. Always check the resin code and test on a hidden area first to see if the plastic melts cleanly.
What temperature should my soldering iron be set to?
Start with a lower temperature setting around 200°C to 250°C and increase it slowly as needed. The goal is to make the plastic pliable without causing it to smoke, turn black, or bubble aggressively.
Do I need a special tip for my soldering iron?
A standard conical or chisel tip works fine for most projects. However, keep in mind that melting plastic will leave residue on the tip, so dedicate one cheap tip specifically for plastic welding so you don’t ruin your electronics soldering tips.
How do I know if my weld is strong enough?
A good weld should have no gaps and the filler material should be fully integrated with the base. Once cool, the joint should feel solid with no flexing or cracking under slight pressure; for high-stress parts, use wire mesh reinforcement.
Can I fix a crack in a car bumper this way?
Yes, you can fix small cracks in car bumpers, but be aware that they are subject to heavy vibrations and stress. Always use a reinforcing method like embedded stainless steel mesh and take your time to ensure the bond is deep and secure.